


Form elements
Suggest EditFields are used to generate the output form template and edit
Feel free to add your own fields, for example, to use a convenient editor for you or any components.
Input fields
Input
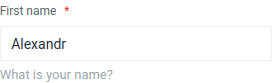
It is one of the versatile elements of the form and allows you to create different parts of the interface and provide user interaction. Mainly designed to create text fields.
Example:
Input::make('name')
    ->type('text')
    ->max(255)
    ->required()
    ->title('Name Articles')
    ->help('Article title');
Notice many methods such as
canSee,required,title,help,vertical,horizontal; and many others, are available in almost everyfieldsystem and are optional
One of the most universal fields due to the type indication, almost all html values are supported:
- text – Text field. Designed to enter characters using the keyboard.
- file – The field to enter the name of the file that is sent to the server.
- hidden – Hidden field.
- color – Widget for color selection.
- email – For email addresses.
- number – Enter numbers.
- range – Slider to select numbers in the specified range.
- url – For web addresses.
Textarea
The textarea field is a form element for creating an area in which you can enter several lines of text.
Unlike the input tag in a text field, it is permissible to make line breaks saved when sending data to the
server.
Example:
TextArea::make('description')
    ->max(255)
    ->rows(5)
    ->required()
    ->title('Short description');
Checkbox
A graphical user interface element that allows the user to control a two-state parameter – ☑ on and ☐ off.
Example:
CheckBox::make('free')
    ->value(1)
    ->title('Free')
    ->placeholder('Event for free')
    ->help('Event for free');
Mask for entering values
Great if values should be recorded in a standard form, for example, TIN or phone number
Example:
Input::make('phone')
    ->mask('(999) 999-9999')
    ->title('Number phone');
You can pass array with parameters to the mask, for example:
Input::make('price')
    ->mask([
     'mask' => '999 999 999.99',
     'numericInput' => true
    ]);
Input::make('price')
    ->mask([
        'alias' => 'currency',
        'prefix' => ' ',
        'groupSeparator' => ' ',
        'digitsOptional' => true,
    ]);
All available Inputmask options can be viewed Inputmask options
Text Editors
A visual editor in which the content is displayed during the editing process and looks as close as possible to the end result. The editor allows you to insert images, tables, specify the styles of text, video.
HTML editor TinyMCE

Example:
TinyMCE::make('html')
    ->required()
    ->theme('inlite');
To display the top pane and a menu in the editor, where the functions of full-screen mode and viewing html code are
available, you need to set the attribute theme ('modern').
HTML editor Qill
Example:
Quill::make('html')
Markdown editor
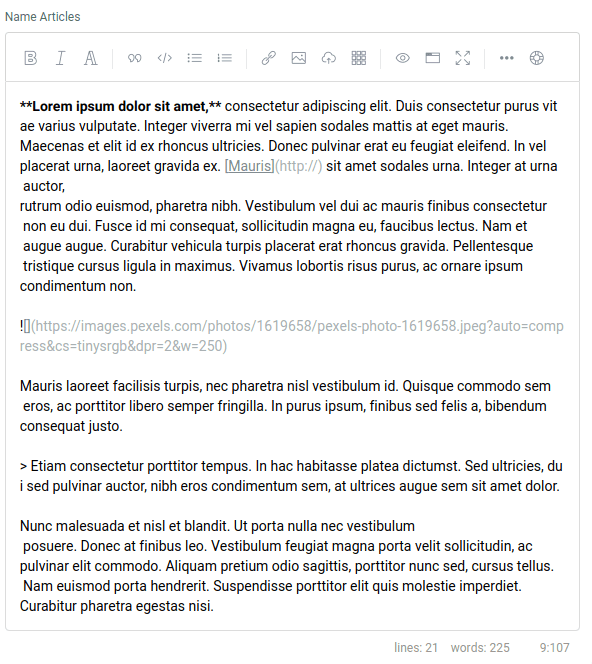
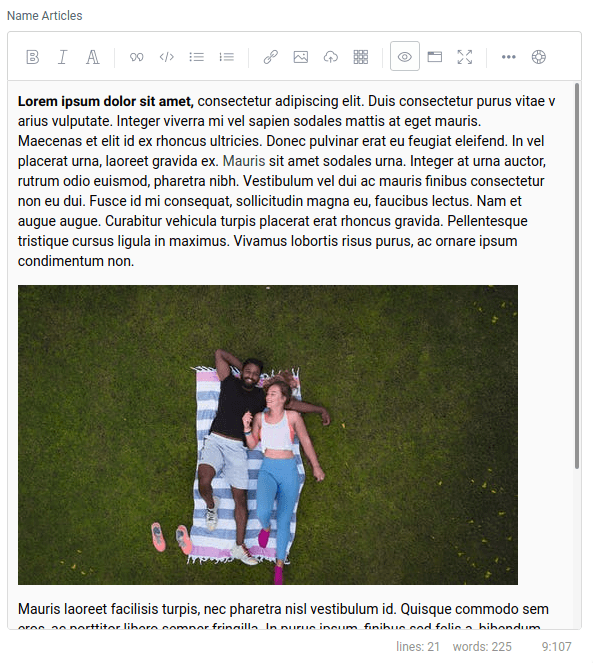
Editor for lightweight markup language, created with the purpose of writing the most readable and easy to edit text but suitable for converting to languages for advanced publications
Example:
SimpleMDE::make('markdown');
Code editor
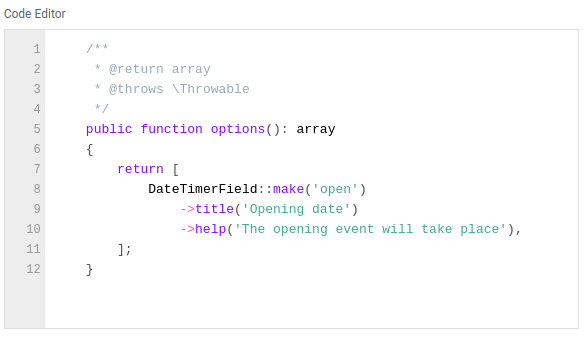
Field for recording software code with the ability to highlight
Example:
Code::make('code');
To specify the code highlighting for a specific programming language, you can specify the method language()
 Code::make('code')
     ->language(Code::CSS);
The following languages are available:
- Markup –
markup,html,xml,svg,mathml - CSS –
css - C-like –
clike - JavaScript –
javascript,js
The indication of the number of lines is supported:
Code::make('code')
    ->lineNumbers();
File Upload and Processing
Picture field
Allows you to upload an image.
Example:
Picture::make('picture');
Cropper field
Allows you to upload an image and crop to the desired format.
Example:
Cropper::make('picture')
    ->width(500)
    ->height(300);
Media field
Example:
Upload::make('upload');
Upload::make('docs')
    ->groups('documents');

Upload::make('images')
    ->groups('photo');
Can be used to limit the maximum number of files to be processed.
Upload::make('upload')
    ->maxFiles(10)
Specifies the number of parallel downloads to process files.
Upload::make('upload')
    ->parallelUploads(2)
Upload::make('upload')
    ->maxFileSize(1024)
The default implementation of accept checks the type or extension of the MIME file against this list. This is a
comma-separated list of MIME types or file extensions.
Upload::make('upload')
    ->acceptedFiles('image/*,application/pdf,.psd')
The boot field can work with different repositories, in order to specify it, you must pass the key specified in
config/filesystems.php:
Upload::make('upload')
    ->storage('private')
The default storage is public.
TimeZone field
Field for convenient selection of time zone:
TimeZone::make('time');
Perhaps specifying specific time zones using:
use DateTimeZone;

TimeZone::make('time')
    ->listIdentifiers(DateTimeZone::ALL);
The default value is DateTimeZone::ALL, but others are possible:
DateTimeZone::AFRICA;
DateTimeZone::AMERICA;
DateTimeZone::ANTARCTICA;
DateTimeZone::ARCTIC;
DateTimeZone::ASIA;
DateTimeZone::ATLANTIC;
DateTimeZone::AUSTRALIA;
DateTimeZone::EUROPE;
DateTimeZone::INDIAN;
DateTimeZone::PACIFIC;
DateTimeZone::UTC;
DateTimeZone::ALL_WITH_BC;
DateTimeZone::PER_COUNTRY;
Datetime field
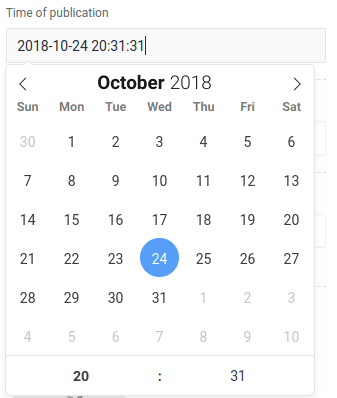
Allows you to select the date and time
Example:
DateTimer::make('open')
    ->title('Opening date');
Allow direct input:
DateTimer::make('open')
    ->title('Opening date')
    ->allowInput();
Data format:
DateTimer::make('open')
    ->title('Opening date')
    ->format('Y-m-d');
An example to display in the 24th format:
DateTimer::make('open')
    ->title('Opening date')
    ->format24hr();
Calendar with time:
DateTimer::make('open')
    ->title('Opening time')
    ->enableTime();
Select only time:
DateTimer::make('open')
    ->title('Opening time')
    ->noCalendar()
    ->format('h:i K');
Select
Simple selection from the array list:
Select::make('select')
    ->options([
        'index'   => 'Index',
        'noindex' => 'No index',
    ])
    ->title('Select tags')
    ->help('Allow search bots to index');
Work with source:
Select::make('user')
    ->fromModel(User::class, 'email')
Source with the condition:
Select::make('user')
    ->fromQuery(User::where('balance', '!=', '0'), 'email'),
Change key:
Select::make('user')
    ->fromModel(User::class, 'email', 'uuid')
There are situations when you need to add some value which means that the field is not selected, for this you can use the empty method:
// for array
Select::make('user')
    ->options([
        1  => 'Option 1',
        2  => 'Option 2',
    ])
   ->empty('No select');

// for source
Select::make('user')
    ->fromModel(User::class, 'name')
    ->empty('No select');
Note that empty is called later on fill methods, otherwise the added value will be overwritten
The empty method also accepts the second argument responsible for the value:
Select::make('user')
    ->options([
        1  => 'Option 1',
        2  => 'Option 2',
    ])
   ->empty('No select', 0);
Relations
Relationship fields can load dynamic data; this is a good solution if you need connections.
Relation::make('idea')
    ->fromModel(Idea::class, 'name')
    ->title('Select your idea'),
To modify the load, you can use an indication of the scope model, for example, take only active:
namespace App;

use Illuminate\Database\Eloquent\Model;

class Idea extends Model
{

    /**
     * @param Builder $query
     *
     * @return Builder
     */
    public function scopeActive(Builder $query)
    {
        return $query->where('active', true);
    }
}
Relation::make('idea')
    ->fromModel(Idea::class, 'name')
    ->applyScope('active')
    ->title('Выберите свою идею'),
Button/Link
In certain cases, you need to add a button to call a modal window, a simple link, or add a button
submit the form at the end of the screen.
For such cases, there is a Button field. The Button field cannot have any
values and is not transmitted when saving. It can be used to call a modal window defined on the screen.
and to add a simple link in the form.
An example of using the modal window addNewPayment added earlier to the screen:
ModalToggle::make('Add Payment')
    ->modal('addNewPayment')
    ->icon('icon-wallet')
    ->right()
Linking example:
Link::make('Google It!')
    ->link('http://google.com');
Example use with method:
Button::make('Google It!')
    ->method('goToGoogle');
Available modifiers:
modal('modalName')– creates a button that calls a modal window with the namemodalNamewithin the current screen.right()– Positioning the element on the right edge of the screenblock()– Positioning the element across the entire width of the screenclass('class-names')– rewrites the standard button classeslink('url')– adds a link for the button. Ignored when given modalmethod('methodName')– when clicked, the form will be sent to the specified method within the current screentitle('Click Me!')– sets the name of the current buttonicon('icon-wallet)– sets an icon for the button