

Table
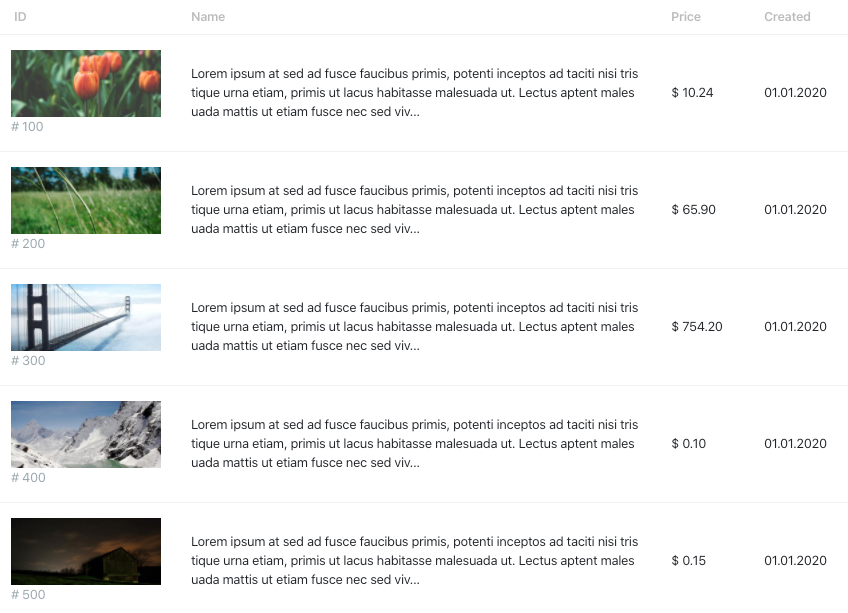
Suggest EditWith the table layout, you can easily display large amounts of data in a structured and organized manner. Simply specify the fields you want to include in the table, and the table layout will take care of the rest, including sorting, filtering, and pagination. You can also customize the appearance of the table by setting various options, such as the table headings, row value, and more. Whether you are displaying a list of users, products, orders, or any other data, the table layout is a powerful and flexible tool for presenting your data in a clear and concise way.
To create a new table layout, you can use the following Artisan command:
php artisan orchid:table PatientListLayout
Example:
namespace App\Orchid\Layouts;

use Orchid\Screen\TD;
use Orchid\Screen\Layouts\Table;

class PatientListLayout extends Table
{
    /**
     * Data source.
     *
     * The name of the key to fetch it from the query.
     * The results of which will be elements of the table.
     *
     * @var string
     */
    protected $target = 'patients';

    /**
     * @return TD[]
     */
    protected function columns() : iterable
    {
        return [
            TD::make('name'),
            TD::make('created_at')->sort(),
        ];
    }
}
Tables also support writing through short syntax without creating a class:
use Orchid\Support\Facades\Layout;
use Orchid\Screen\TD;

Layout::table('clients', [
    TD::make('name'),
    TD::make('created_at')->sort(),
]);
Introduction to Cells
A table is only a general wrapper for which you need to specify TD classes. Designed to create a single cell.
use Orchid\Screen\TD;

TD::make('last_name');
The make method is the main method, sets the key name from the array and the display name.
TD::make('last_name', 'Last name');
Column headers are rendered with their raw HTML content. This gives you the flexibility to include rich formatting or special characters directly in the header. Just remember to ensure that any dynamic content is safe and sanitized to maintain a secure and polished interface.
Alignment
Content alignment control can be controlled using the align method:
TD::make('last_name')->align(TD::ALIGN_LEFT);
TD::make('last_name')->align(TD::ALIGN_CENTER);
TD::make('last_name')->align(TD::ALIGN_RIGHT);
Sorting
Sorting the selection should be done in the query screen, for models, you can use automatic http sorting and
filtering
To enable active sorting by this column
you must specify the sort method:
TD::make('last_name')->sort();
Filtration
When building simple tables, the use of separate filters may seem overkill. Therefore, you can display the field for filtering right above the column heading.
It will only define the visible part. You can specify the filtering logic yourself or rely on “Automatic HTTP Filtering.” You can find out more on the “Eloquent Filters” page.
To add a field, call the filter method and pass the instance of the class you would like to display:
TD::make('SKU')->filter(Input::make()->mask('A-999999'));

TD::make('color')->filter(
    Select::make()
        ->options(['red' => 'Red', 'green' => 'Green'])
        ->empty()
),
Note: there is no need to specify the field name. It will be delivered and overwritten automatically by the column name.
When working with filters, it is possible to use the filterValue() method, which allows you to modify the displayed filter values.
For example, you can replace an ID value with a display name. Here is an example of using the filterValue() method:
TD::make('id')->filterValue(function ($value) {
    return User::find($value)->name;
})
The $value value passed to the function will contain the filter value that was applied.
Width
You can control the width of the cell using the width method:
TD::make('last_name')->width('100px');
Show/Hide
By default, the user can hide any column for himself, but you can prohibit doing this by specifying:
TD::make('last_name')->cantHide();
And also hide by default, but can be shown at the request of the user.
TD::make('last_name')->defaultHidden();
Note: To hide the button and modal for selecting visible columns from the table footer, you need to make all table columns hidden by default.
Data Output
In some cases, you may need to display combined data, the render method is for this purpose intended. It implements the ability to generate cells according to the function:
TD::make('full_name')
    ->render(fn($user) => e($user->first_name . ' ' . $user->last_name)),
Note. The returned string will not be escaped. You need to take care of this yourself with the
e()helper or use aBladeview.
The loopback function must return any string value:
TD::make('full_name')
    ->render(fn($user) => view('blade_template', [
        'user' => $user,
    ])),
Please note that you can use fields and actions:
use Orchid\Screen\Actions\Link;

TD::make()
    ->render(fn ($user) => Link::make($user->last_name)->route('platform.user.edit', $user)),
Sometimes you want to show more elements in a single column, for example more buttons. For this you can use a Group:
use Orchid\Screen\Actions\Link;
use Orchid\Screen\Fields\Group;

TD::make()
    ->render(fn($user) => Group::make([
        Link::make('Show')->route('platform.user.show', $user),
        Link::make('Edit')->route('platform.user.edit', $user),
    ])),
For example, display a checkbox for each line for a bulk action:
TD::make()
    ->render(fn(User $user) => CheckBox::make('users[]')
        ->value($user->id)
        ->placeholder($user->name)
        ->checked(false)
    ),
Sometimes it may be necessary to get the value from the query screen, rather than relying only on the target. You can get the value as follows:
use Orchid\Screen\Actions\Link;

TD::make('price')
    ->render(fn ($product) => $product->price + $this->query->get('tax')),
Working with the Loop Variable
The $loop variable will be available in the second argument of the render closure function. This variable provides access to some useful bits of information such as the current loop index and whether this is the first or last iteration through the loop:
TD::make()->render(fn (Model $model, object $loop) => $loop->index),
The $loop variable contains a variety of other useful properties which you can find in the Laravel documentation.
Using Components
Complex or dynamic data can be tedious to specify in the render method or seem overwhelming. Therefore, cells support rendering using Laravel components. It allows you to take out the display logic, as well as reuse.
For example, there is an Order model, and depending on the status, we can show different descriptions in our components.
It is much nicer than specifying things directly in the view or creating particular areas for such processing.
namespace App\View\Components;

use Illuminate\View\Component;
use App\Models\Order;

class OrderShortInformation extends Component
{
    public function __construct(
        public readonly Order $order
    ) {}

    /**
     * Get the status description.
     *
     * @return string
     */
    public function status(): string
    {
        return match ($this->order->status) {
            Order::STATUS_PROCESS      => __('In the process'),
            Order::STATUS_PAID         => __('Paid'),
            Order::STATUS_CANCELLATION => __('Cancellation'),
            Order::STATUS_REFUND       => __('Refund'),
            default                    => __('Unknown'),
        };
    }

    /**
     * Get the view / contents that represent the component.
     *
     * @return \Illuminate\View\View|\Closure|string
     */
    public function render(): \Illuminate\View\View|\Closure|string
    {
        return view('components.order.short-information');
    }
}
To use a component in a cell, you must pass it:
use App\View\Components\OrderShortInformation;

TD::make('status')->component(OrderShortInformation::class);
The component will receive the entire row as its first argument, not just the cell data.
Therefore, if you are using a deep injection in your component, it is essential to specify the variable’s name.
public function __construct(Application $application, Order $order, int $limit = 300)
{
    $this->order = $order;
    // ...
}
Other additional arguments, for example, limit. You can specify in the following way:
TD::make('status')->component(OrderShortInformation::class, [
    'limit' => 100
]);
Passing Cell Values to Components
The component method passes the entire row to the component. When a component only needs the value of the current cell, use usingComponent instead.
For example, you might want to display a value in a specific format:
namespace App\View\Components;

use Illuminate\View\Component;

class Numeric extends Component
{
    /**
     * @var float
     */
    public float $value;

    /**
     * Create a new component instance.
     *
     * @param  float        $value
     * @param  int          $decimals
     * @param  string|null  $decimal_separator
     * @param  string|null  $thousands_separator
     */
    public function __construct(
        float   $value,
        int     $decimals = 0,
        ?string $decimal_separator = ".",
        ?string $thousands_separator = ","
    ) {
        $this->value = number_format($value, $decimals, $decimal_separator, $thousands_separator);
    }

    /**
     * Get the view/contents that represent the component.
     *
     * @return \Illuminate\Contracts\View\View|\Closure|string
     */
    public function render()
    {
        return <<<'blade'
    {{ $value }}
blade;
    }
}
Then the table call might look like this:
TD::make('price')->asComponent(Numeric::class);
// 1,235
Also with additional parameters:
TD::make('price')->asComponent(Numeric::class, [
    'decimals' => 2,
    'decimal_separator' => ',',
    'thousands_separator' => ' ',
]);
// 1 234,56
For built-in cell formatters, see Cell Types. It covers date, number, boolean, currency, and percentage formats.
Customizing Component Arguments
Arguments passed to component may be closures. Orchid evaluates each closure with the current row before rendering the component. This lets you calculate a component argument from one or more model attributes without adding an accessor to the model or creating another component.
For example, the value displayed by DateTimeSplit can be selected from several date attributes:
use App\Models\Order;
use Orchid\Screen\Components\Cells\DateTimeSplit;

TD::make('last_activity', 'Last Updated')
    ->component(
        DateTimeSplit::class,
        value: fn (Order $order) => $order->shipped_at
            ?? $order->packed_at
            ?? $order->created_at,
    );
Use component rather than usingComponent when the closure needs the entire row. Closures passed to usingComponent receive only the value of the selected cell.
Table Options
You can specify the text to be displayed if the table is empty specifying methods:
/**
 * Icon displayed when no data is found.
 */
protected function iconNotFound(): string
{
    return 'bs.journal-x';
}

/**
 * Text displayed when no data is found.
 */
protected function textNotFound(): string
{
    return 'There are no records in this view';
}

/**
 * Subtext displayed when no data is found.
 */
protected function subNotFound(): string
{
    return '';
}
If the table rows do not seem contrasting to you, then you can enable
striped mode:
/**
 * Usage for zebra-striping to any table row.
 */
protected function striped(): bool
{
    return true;
}
If you need a compact table, then you can enable
compact mode:
/**
 * Usage for compact display of table rows.
 */
protected function compact(): bool
{
    return true;
}
If you need a hoverable table, then you can enable
hoverable mode:
/**
 * Enable a hover state on table rows.
 */
protected function hoverable(): bool
{
    return true;
}
You can dynamically change the amount of links to display in the table pagination with the following method:
/**
 * The number of links to display on each side of current page link.
 */
protected function onEachSide(): int
{
    return 3;
}
Adding a Total Row
Adds a summary row at the bottom of the table, for this you need to define the total method and describe the required cells. For example:
public function total():array
{
    return [
        TD::make('total')
            ->align(TD::ALIGN_RIGHT)
            ->colspan(2)
            ->render(fn () => 'Total:'),

        TD::make('total_count')
            ->align(TD::ALIGN_RIGHT),

        TD::make('total_active_count')
            ->align(TD::ALIGN_RIGHT),
    ];
}
This line will ignore the specified target based on the result of the query screen:
public function query(): array
{
    return [
        'total_active_count' => '$93 960',
        'total_count' => '$103 783',
        // ...
    ];
}
